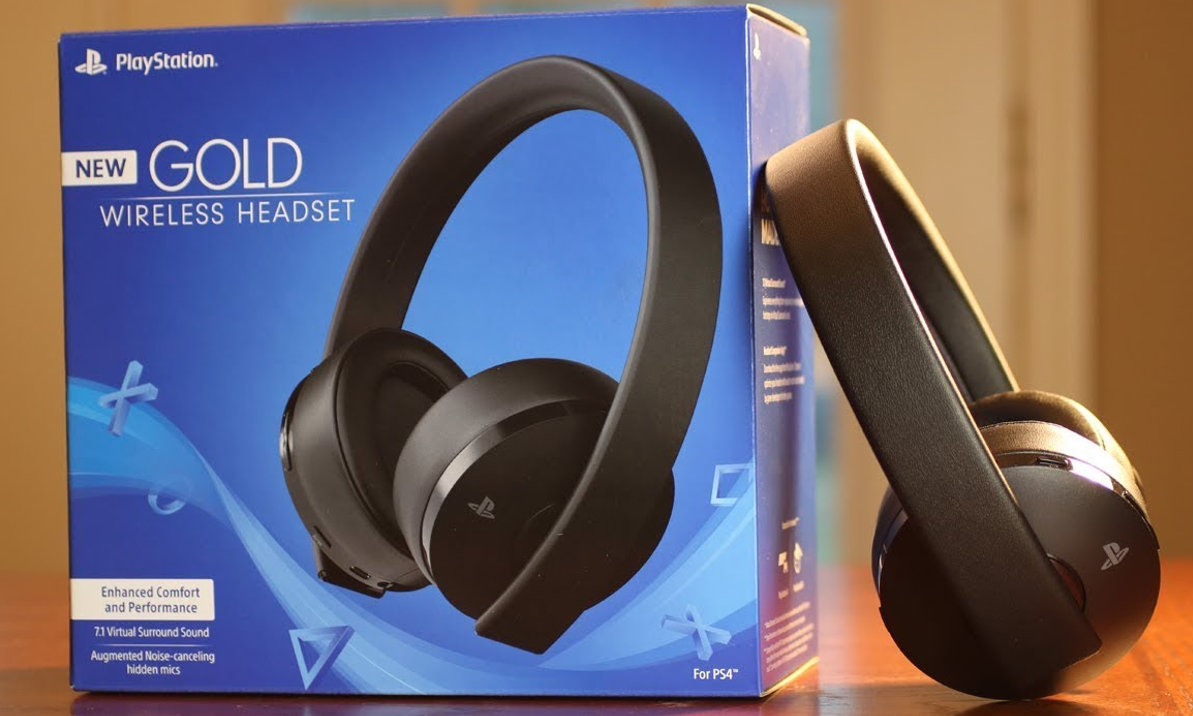
If you’ve misplaced your Sony Gold headset and need to reset it, this tutorial will show you how to reset Sony gold headset. Sony’s Gold headsets are among the best in the world, but things go misplaced from time to time, whether on your desk at work or in the couch cushions at home (or both). As long as you can locate your Gold headset, you may use this approach quickly and easily get it operating again!
The Best Way to Fix Sony Gold Headset That Isn’t Working
If your headset breaks down when you’re playing Sony gold headset games, it’ll be a tremendous letdown because you won’t be able to communicate with your teammates. Don’t worry, though! This post will show you how to quickly and efficiently resolve the problem of how to reset Sony gold headset? Try the methods listed below until you find one that works for you.
Method 1: Examine Your Hardware
If others in the party chat can’t hear you, but you can, please check the possibilities below to troubleshoot your situation.
Please Double-Check Your Headset
First and foremost, make sure your headset‘s wires and ports are in good working order. Ensure that the cables are correctly plugged into the correct ports. Check for dust or other obstructions inside the ports that could prohibit your device from working correctly. Make sure your microphone boom is working correctly.
Follow these two steps to troubleshoot whether your problem is with your headset with a mic boom:
1) Make sure your microphone boom isn’t loose. Unplug your PS4 controller from your headset, remove the mic boom by plucking it straight out of the headset and re-insert it. Connect your controller to your headset after that.
2) Test your headset on a different device to see if it functions normally. For instance, try plugging your headset into your phone and making a phone call with your mic to check how well it works.
Method 2: Make Sure Your Sound Card Driver Is Up To Date
If your microphone isn’t working on your PC, you should update the audio driver to ensure that the PC and headset communicate correctly. You have two options to update your audio driver: manually or automatically.
1. Manually Update Audio Driver
Go to the manufacturer’s website, find the correct and most recent sound driver for your device, and install it on your computer. For this task, time and proficiency are required expertise.
2. Update Audio Driver Automatically
Driver Easy can do it for you if you don’t have time or computer skills to update drivers manually. Driver Easy will detect your computer’s drivers, and it will install the correct drivers. More importantly, you won’t have to battle to figure out the Operating System, and you won’t have to worry about making mistakes while processing using Driver Easy. Your time and effort will be significantly reduced. With Driver Easy FREE or PRO, you can automatically update your drivers. With the Pro version, it only takes two simple.
- Get Driver Easy and install it.
- Choose Scan Now in the menu of Driver Easy. Driver Easy will look for any problematic drivers on your computer when you do so.
- To download and install the correct driver, click the Update icon next to the driver name (you can do that with the FREE version). Alternatively, you may choose to Update All to have all of the problematic drivers immediately downloaded and installed. Driver Easy Pro comes with comprehensive technical support.
- Restart your computer after updating the driver, and test your PS4 microphone to determine if the issue has been resolved.
Method 3: Examine Your Headset’s Settings
If you’re sure there’s no issue with your mic boom or headset, there appears to be a problem with your PS4 settings. Go through the instructions below to ensure that the PS4 settings are adjusted correctly.
- Go to Settings > Devices > Audio Devices on your headset.
- Pick Headset Connected to Controller from the Input Device drop-down menu.
- Click Headset Linked to Controller from the Output Device drop-down menu.
- If you turn on Volume Control (Headphones), adjust the volume to the loftiest setting.
- Output to headphones – Select All Audio.
- To calibrate your microphone, click Adjust Microphone Level and follow the wizard’s instructions.
If your mic is detectable on the Adjust Microphone Level screen, your headset and mic are in good working order with the PS4. Continue to Method 4 if your microphone was not recognized on the Adjust Microphone Level screen.
Why Is It Necessary To Reset A Sony Gold Headset?
Like most headsets, Sony’s Gold Wireless Headset might be a hassle to set up at first. Whether you’re trying to associate the headset with your PS4 or PC or need to reset it to get it operating again, this tutorial will guide you through the process fast and painlessly. So you can get back to gaming without any more interruptions, here how to reset sony gold headset?
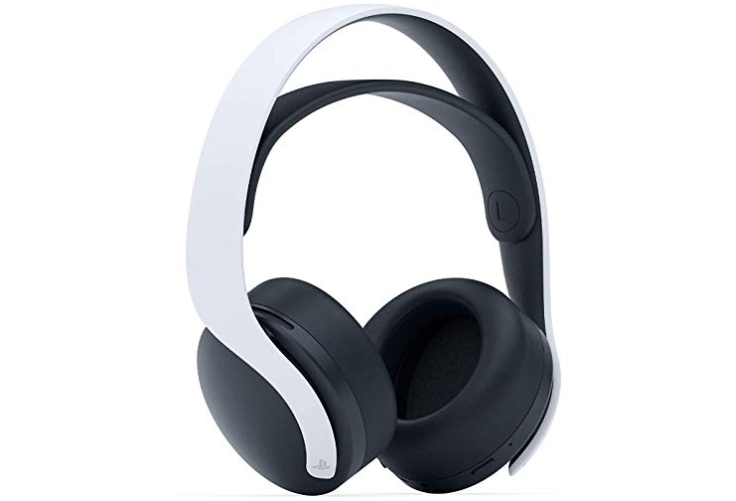
Your PS5TM Console Does Not Recognize Your PlayStation Headset
Another electronic equipment could be interfering with your wireless router, or your headset could be out of range from your console.
- Check if your console detects the headset by turning on and off your wireless router.
- Try resetting your headset if that didn’t work.
- Putting the headset back together.
If the headset doesn’t always function when you try to use it, try the following steps to reset it:
- Plug the wireless adaptor into a powered USB port on a compatible PlayStation® system.
- Press down on the reset hole in the wireless adaptor with a tiny pin or similar object for at least one second.
- Press and hold the MUTE and VSS buttons on the headset.
- Slide the POWER switch to position “1” or “2” while still holding down the MUTE and VSS buttons.
Your PS4TM System Does Not Recognize Your PlayStation Headset
How to reset Sony gold headset? If the Headset Companion app doesn’t recognize it (PS4 console only)? The PS4TM console may have a wide range of audio connections. Disconnect the other audio source and try again.
- Updates may be needed for the Headset Companion app. Attempt to update the app.
- There should be only one wireless adaptor in the house and the headset.
- Please keep in mind that the headset companion app does not work with PS5 consoles.
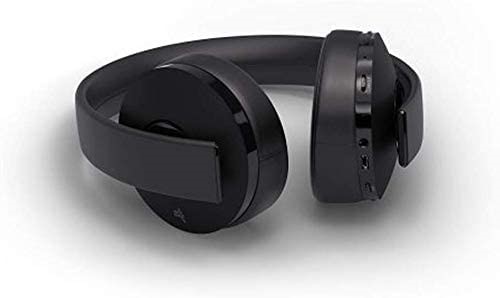
Wireless Headsets for the PS4 Console Should Be Restored
Launch the Headset Companion App on your PS4 system. To get the app, head to the PlayStationTMStore, navigate to Apps > Headset Companion and download it.
- On the app, choose your headset.
- On your wireless controller, press the OPTIONS button.
- Select Restore from the Headset > Restoring Headset menu. It could take a long time.
- Select “Next: after turning off your headphones.
- Select “Next” after unplugging the headset.
- Activate the headset.
- Before utilizing the headset, wait until the light on the headset stops blinking.
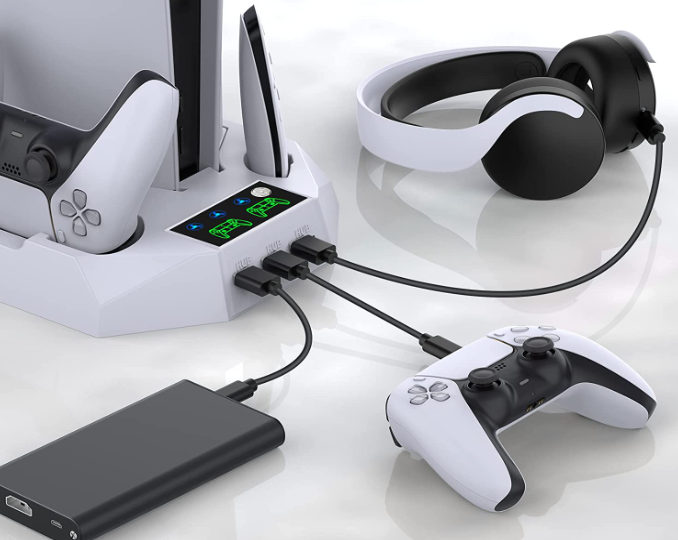
Reset the PlayStation Wireless PULSE 3D Headset | BUY ON AMAZON
If your PlayStation headset isn’t working, you should usually try resetting it. Many users were able to get their fix simply by restarting their headsets.
- To reset the PULSE 3D wireless headset, follow these steps:
- Remove the headset from your ears.
- Connect the wireless adapter to your PS5’s powered USB Type-A port.
- Before releasing the pin, push it into the slot from around the wireless adaptor’s reset button for at least one second.
- At the same time, press and hold the CHAT and VOLUME+ buttons on the headset.
- Turn on the headset’s power switch while holding down the CHAT and VOLUME+ buttons.
- If the reset is successful, the headset and adapter will connect.
Conclusion
If you’re having problems with your Sony Gold headset and can’t figure out how to reset sony gold headset? Read on. It could be worth resetting everything to see if it restores things to normalcy. It’s easy to forget that you’re wearing your headset and pulling on the wire, yanking it out of your computer, or, worse, yanking on your earbuds so hard that they pop out. Resetting the headset will clear any issues and return everything to normal, allowing you to start over!
Frequently Asked Questions
What's wrong with the left side of my headphones?
A: When your left earphone quits working, the first thing you should do is check the wire. Insert the earphone plug into your smartphone and bend the cable several times with your fingers to discover a likely cable break spot.
What causes earbuds to cease working?
Wire strain, defective wiring from the manufacturer, moisture damage, or damage to the sound drivers are common reasons for earphones/earbuds to stop operating. These situations can result in audio shorts or a complete disconnect between the drivers and the audio sourc
What’s the deal with one ear being louder than the other?
Yes, many people’s left and right ears respond to sound differently. One ear is likely to have more than the other if you suffer hearing loss, yet your ears have been tuned to various noises since birth. Scientists have discovered that sound is processed differently in the left and right ears.
Is it possible to repair headphones?
Headphone repairs are available at many audio and electronics stores. If you can’t find a local repair shop, you can send your headphones to the manufacturer or an independent repair shop for assistance. Your headphones may also be covered by a warranty, depending on the issue.
Is it possible to fix Bluetooth earphones?
The Bluetooth Headphone’s Micro-USB port may not work in some circumstances. Repairing will be difficult in that situation. You will need to replace the USB port. In general, the Bluetooth’s Battery will not be readily harmed.